
Scale Box Assembly & Installation Basics
- Gary Hinshaw
- Aug 15, 2025
- 2 min read
Updated: Aug 19, 2025
1. The basic parts - Shown below are the basic parts of a short shank coupler. From top to bottom: the centering spring, the knuckle, and the retainer.

I trim the print supports on the head and shaft with an x-acto blade, and I file the support side of each pivot ring with a triangle file. I swab the parts with a Micro-brush dipped in IPA to clean the filing residue.
2. Apply the spring to the knuckle - Using tweezers, I slip the centering spring onto the boss at the back of the knuckle part. Make sure the spring is perpendicular to the shaft axis.

Fine-point, curved-tipped tweezers are very useful for gripping the spring during this step.

3. Add the retainer- Press the retainer boss into the other end of the retaining spring. The split shank parts will typically be widely separated at this point.

4. Eliminate the torsion in the centering spring - It is important that the two shank halves stay aligned when the spring is relaxed. I "massage" one one of the spring around the boss to eliminate any residual torsion in the spring. The goal is that the two shank halves stay in line when they're placed on your work mat.

I test this by dropping the assembled coupler onto the mat from about an inch high. If the parts stay aligned when dropped, you're good.
5. Place the assembled coupler in the box floor - Now put the assembled coupler onto the box floor and take care to center the spring in the splitter so the shank lies in line with the centerline of the box.

6. Snap the box lid in place - The box lid snaps onto the floor of the box, making a tidy integral assembly.

7. (Optional) The hat press fits over the box lid - for cases where you might need the extra thickness and width.

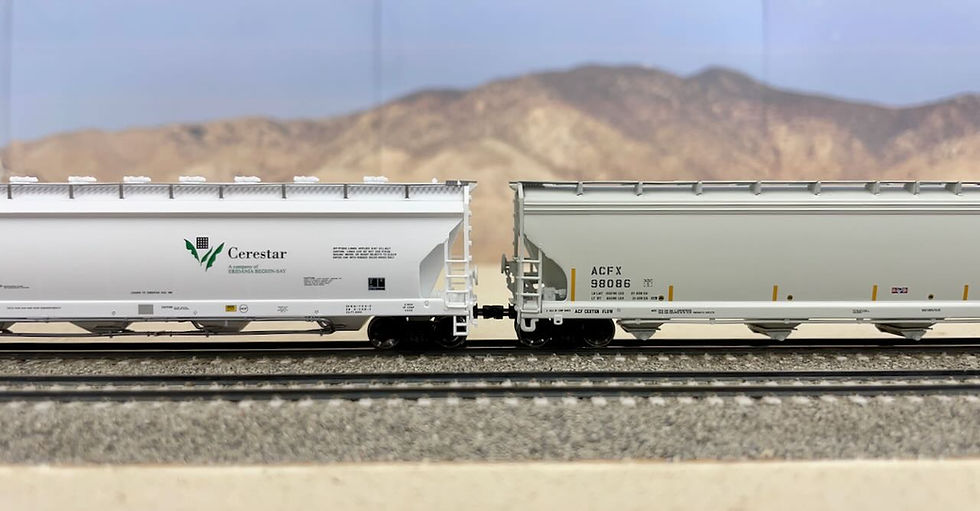
Here is a typical installation of a scale box on a covered hopper. I'll document specific installs later on.


Comments